BLACKMAILLE
Part 67 - Making the Black Oak Maille
Guild Sign - Part 1
by Lord Thomas the Black
BLACKMAILLE
Making the Black Oak Maille Guild Sign, pt. 1
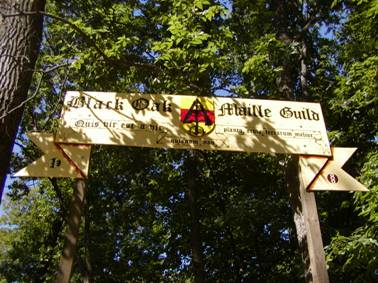
Welcome back to another edition of Blackmaille! Having already walked you through our demo space at the Kansas City Renaissance Festival, this month and next, I thought we'd look at the steps involved in making the sign that now adorns our demo space, and the impact it's had on our demo.
A lot of work went into making this sign (nearly every day for three months!), and was complicated by the fact that we're all maillers, not carpenters or artists. Still, the sign turned out beautifully, and adds an air of legitimacy to our operation, making us look more like an official part of faire, and less like a pack of squatters occupying space no one else wants.
The first step in making the sign was to figure out exactly what we wanted. We'd talked to our area operator, and figured out what we needed for this to work. We decided on 1/2" plywood, which is sold in 4' x 8' sheets. So, the first thing I did was to grab some graph paper, and plot out what we wanted to do, and how it was going to be laid out on the plywood (Fig. 1). I even made a scale-model out of cardboard, to work out how the pieces needed to fit together (Fig. 2)!
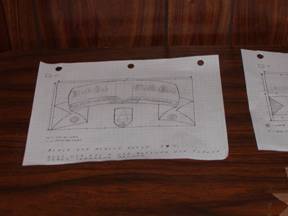
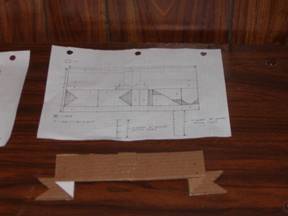
Fig. 1 Fig. 2
The next step was to transfer these plans to the actual plywood. Since I'd worked out the scale on the graph paper first, this was fairly easy. I just measured the plywood, marked where the pieces were to fit, and went over my measurements with a Sharpie marker, so they'd be easy to follow when cutting (Fig. 3). Next, I figured I'd better plan everything out to the last cut, so I didn't skip any steps. For this, I bought a white-erase board, and listed everything that needed to be done (Fig. 4).
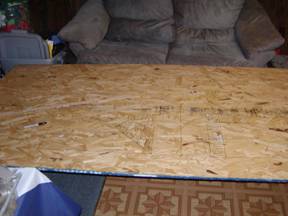
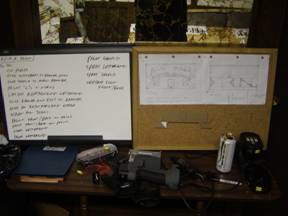
Fig. 3 Fig. 4
Next, I cut out the individual pieces of the sign, and assembled them according to my cardboard mock-up, using wood glue and screws (Fig 5 & 6).
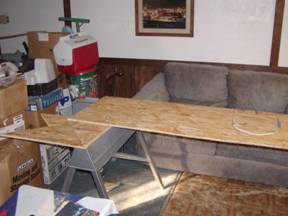
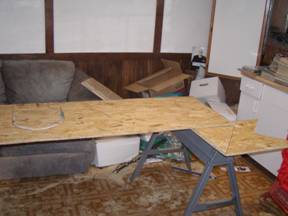
Fig. 5 Fig. 6
The next step involved working out what we wanted the sign to say, and how to transfer that to the sign itself. We already knew what we wanted on it, so working out how to do this was all that was left. I figured out if we printed out the wording in the size we needed it, and transferred it using carbon paper, that this might just work. For the "Black Oak Maille Guild" portion, I made each letter a separate file in Microsoft Paint, and printed them out full-page (Fig. 7). For the Latin inscription below it, I did the same with each word, so they'd print out smaller (Fig. 8).
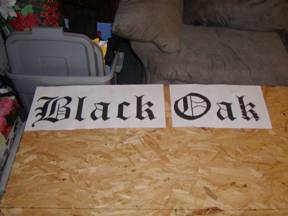
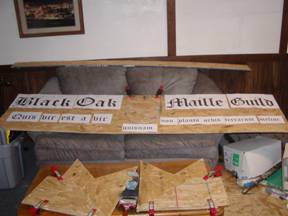
Fig. 7 Fig. 8
Before we could transfer the lettering, though, our sign needed to be painted. I started with a coat of Kilz, which is designed to cover stains and other markings, and to seal the wood, which I figured our sign was going to need in the weather (Fig. 9). When that dried, I painted it with a parchment-colored exterior latex paint, again designed to seal against the elements (Fig. 10).

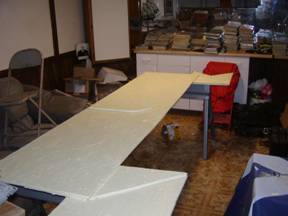
Fig. 9 Fig. 10
Once this was done, I stenciled our monkey logo to the back of the sign (Fig 11 & 12). This is just an in-joke among us, and is something I put on all of our demo equipment. Sharp-eyed readers may notice its resemblance to the logo used in the movie "12 Monkeys". I tell people who ask that we're the real "Army of the 12 Monkeys". There's only four of us, but we're taking applications! Once the paint dried on our monkey, he was given a coat of spray urethane. This is to protect against damage when we brush on the final urethane coatings.
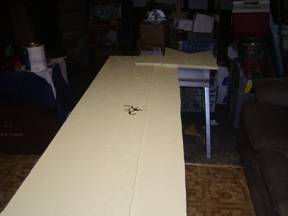
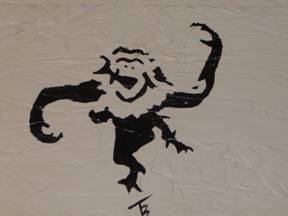
Fig. 11 Fig. 12
The next step was to paint on my household and award medallions (Fig. 13 & 14). This was a vanity move on my part, to not only show my accomplishments, but to give a "shout-out" to my SCA household. Besides, I felt the ends of the "banner" needed some decoration. You'll notice that quite a bit more has been done on the sign in Fig. 14. This is because I completely forgot to get a picture of the award medallion until this point.
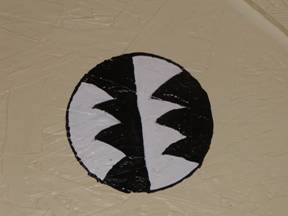

Fig. 13 Fig. 14
The last step before the lettering (since the lettering would take the longest) was to paint our Guild coat-of-arms on the center shield (Fig 15 & 16). This device was later registered with the SCA, making it our official coat-of-arms for both the Black Oak Maille Guild and the Barony of Forgotten Sea Maille Guild!
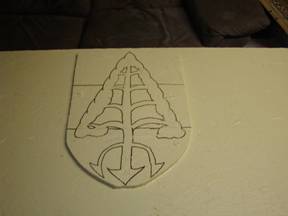
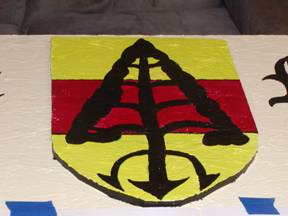
Fig. 15 Fig. 16
Well, that wraps it up for part one of how the Black Oak Maille Guild sign came to be. Next month, we'll show how we lettered and finished the sign, and in part three, we'll show how we put it up on-site, and how the finished sign was received by the masses! See you then!
Until then, as usual, any hate mail, fan mail, questions, or comments can be sent to me at:
Blackmaille
c/o Tom Beckett
13628 Belmead Ave
Grandview, MO 64030
Or you can email me at tbeckett1@kc.rr.com
See you next month!
Back to the Blackmaille Webpage
Back to the Cúm an Iolair Information Webpage
Articles: ©2003, 2004, 2005, 2006,
2007, 2008, 2009
Thomas Becket/Lord Thomas the Black
e-mail questions & comments to:
tbeckett1@kc.rr.com
Hosting: ©2003, 2004, 2005, 2006, 2007, 2008,
2009
Ron Knight/Modar Neznanich
e-mail: modar@everestkc.net